Factors to Consider When Addressing Wear Issues
Nothing ruins productivity like a broken piece of equipment. While that statement may seem fairly obvious, the actions to address problems are not always clear cut. Depending on the severity of the issue, you may be able to get away with a quick fix or repair to extend the life of the machine. But for larger issues, a full replacement might make more sense.
This logic holds true with earth drills just as much as any other piece of equipment in your fleet. There are many working parts to a drill, and while issues aren’t a common occurrence, they certainly can happen. Unfortunately, there is not a guide or rule book to tell you exactly when to repair and when to replace your earth drill. But with a bit of guidance and the help of an expert manufacturer, your decision may be a little easier.
Here are some factors to consider when repairing or replacing your earth drill:
What seems to be the issue?

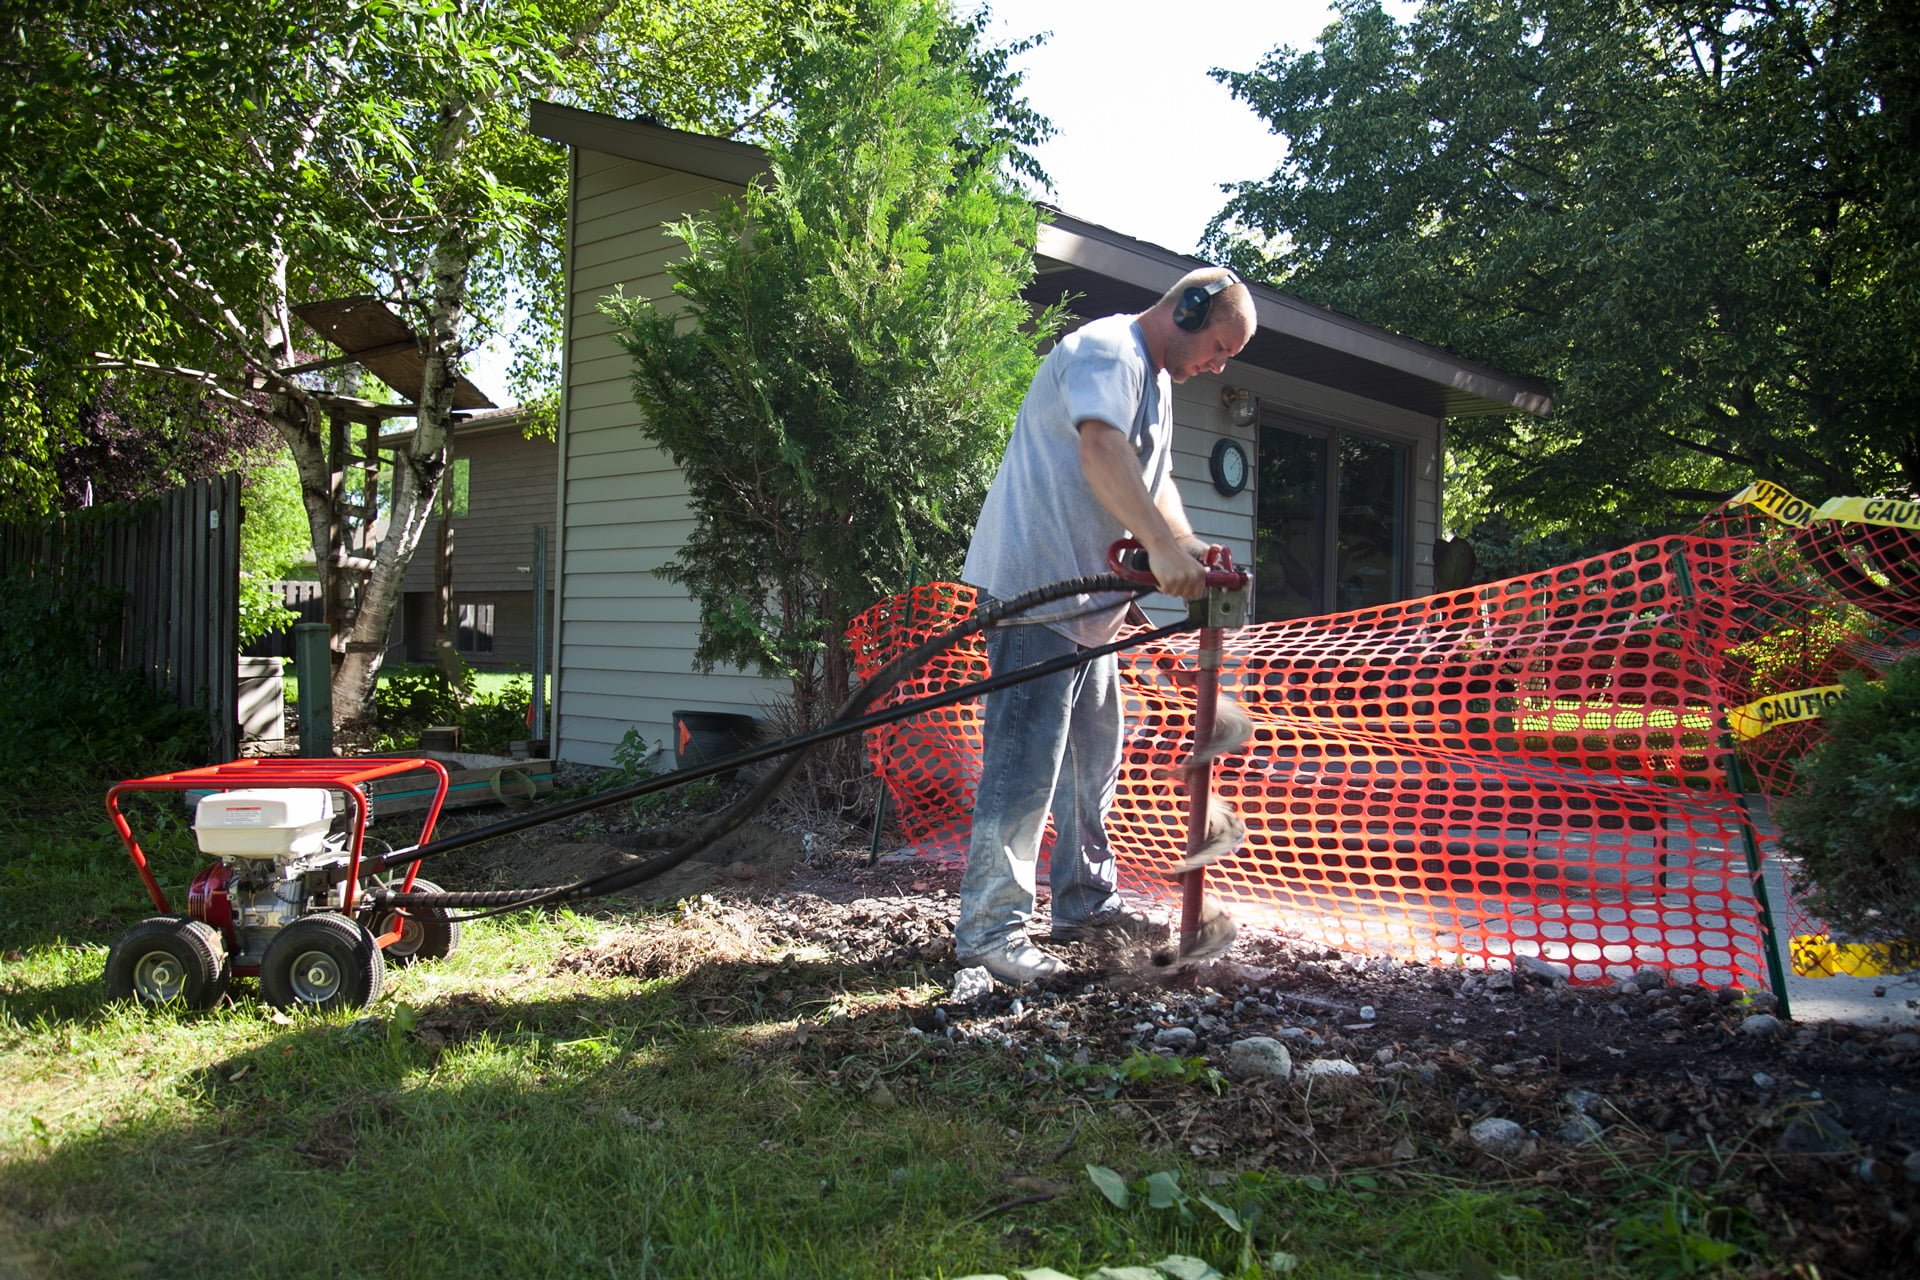
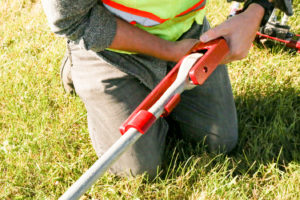
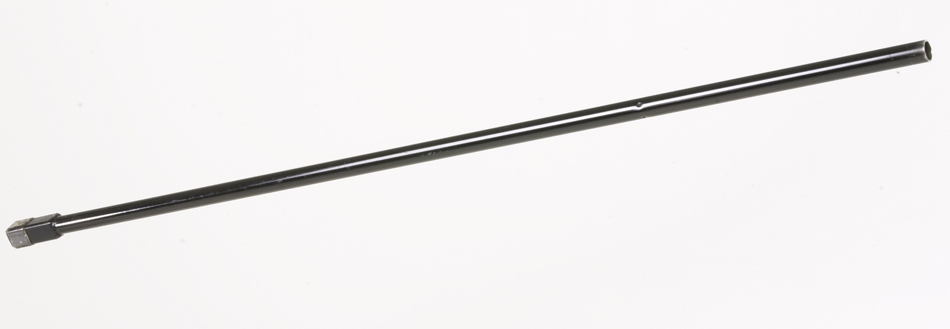
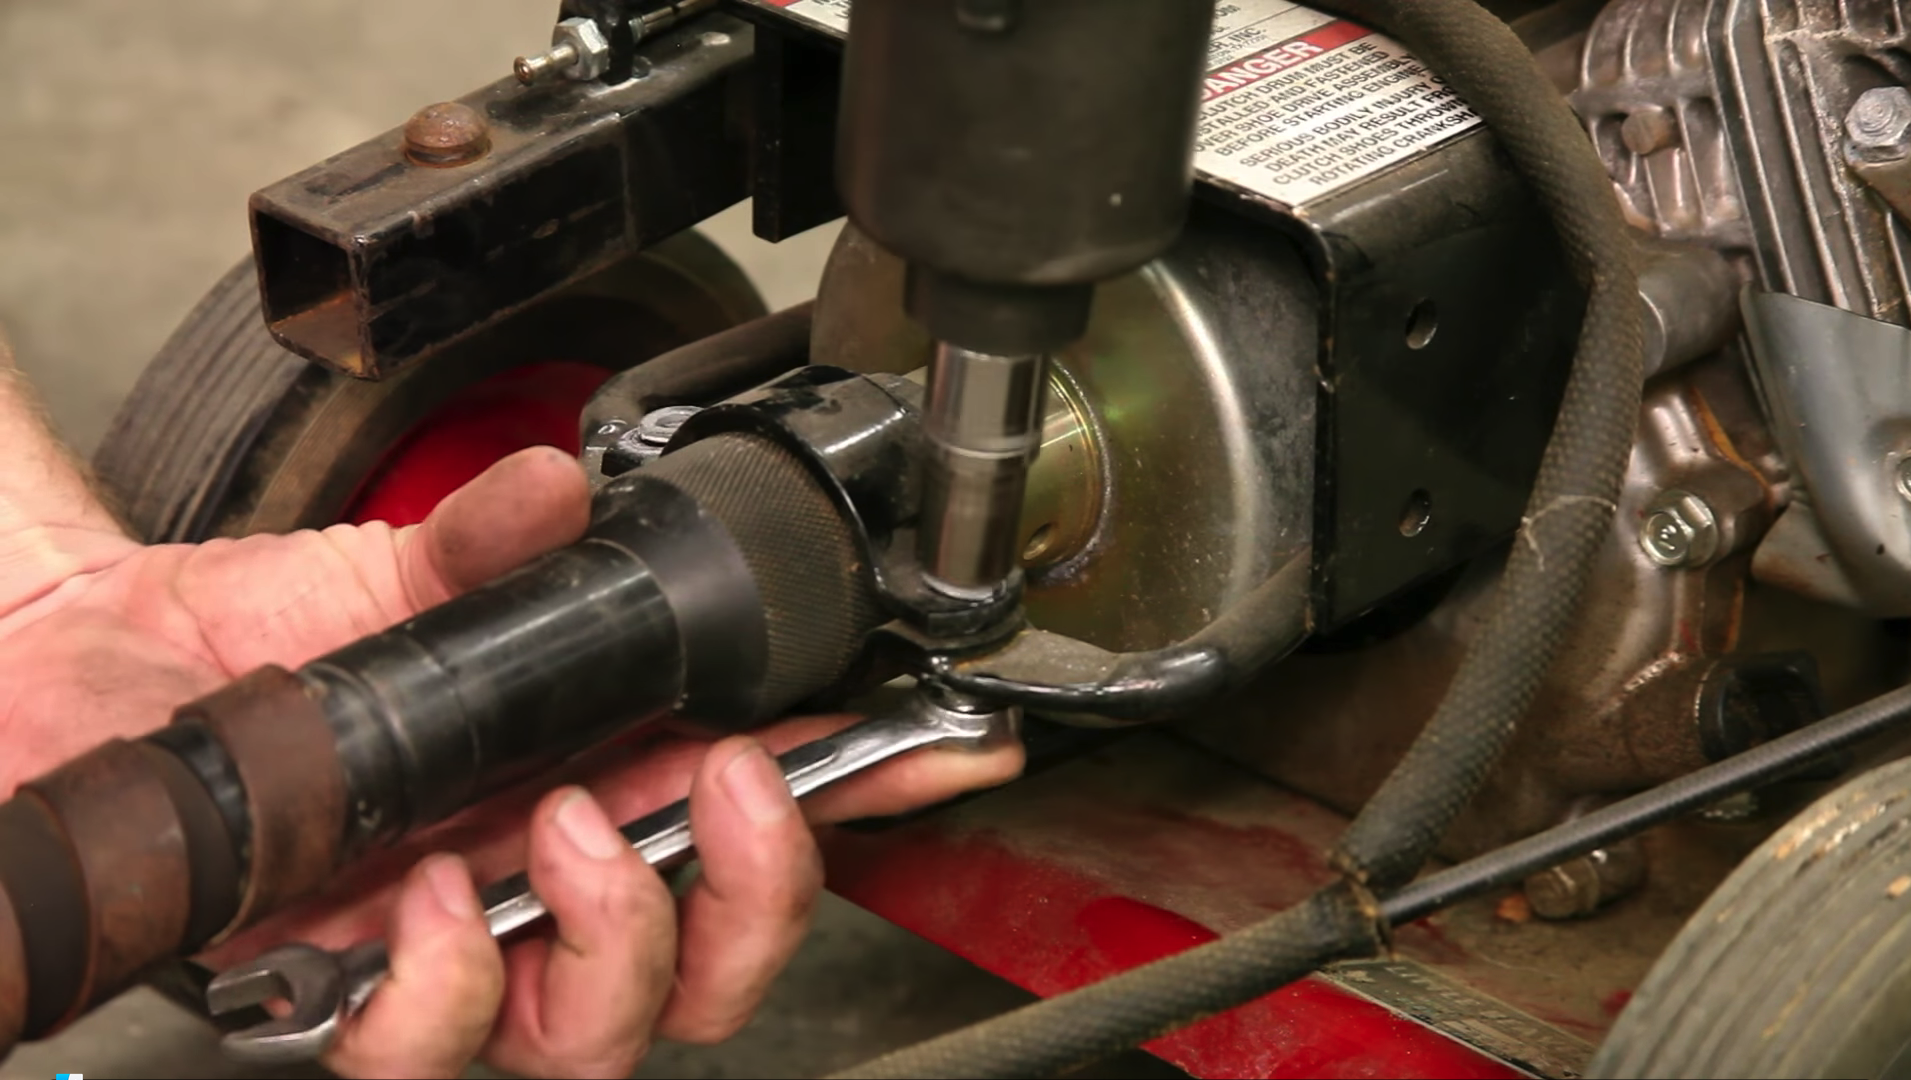
The flex shaft should be cleaned and greased after every 50 hours of operation
Some of the most common earth drill issues include an auger that quits turning or turns when it’s not supposed to. If your auger spins while it’s out of the ground but quits spinning as soon as you start to drill the hole, it’s likely a broken flex shaft. The flex shaft should be cleaned and greased after every 50 hours of operation, but sometimes even routine maintenance can’t prevent breakage. A broken flex shaft can’t be repaired, and usually costs about $600 for the part and up to $100 for installation. In some cases, just replacing the inner core will fix the problem for around $200.
Gearbox issues are a different story. An issue with the gears or the gearbox prevents the drill from spinning altogether. While low motor oil can cause the motor to lock up and cease functioning, there’s also the possibility of a larger issue, such as the gears being stripped. Gearboxes can be repaired, but can cost nearly as much as a full replacement – a comparison of about $725 to repair or $850 plus installation costs to replace.

If the auger spins at idle, the diagnosis is likely the clutch.
If the auger spins at idle, the diagnosis is likely the clutch. The auger shouldn’t spin until you depress the throttle and engage the clutch. If the clutch is overheated during operation, the heat-treated springs will no longer keep the shoes from engaging, causing the auger to stay engaged at all times. Similar to the gearbox, the repair cost nears the full replacement cost – a comparison of about $140 and $160 plus installation costs for a new clutch.
If the auger vibrates excessively or “walks” during use, it is likely due to misalignment or wear of the points and blades. Blades should be replaced when worn flush of the auger flighting. If the blades wear into the auger flighting, the auger will need to be repaired or replaced. Points should be replaced when the split or fork in the tip is less than ¼” from the bottom of the split.
What would a replacement part cost?
The cost of parts varies among manufacturers. A general statement of advice is that if the replacement parts cost more than 50% of a new drill, it might be best to invest in a new unit. Keep in mind though, don’t just look at the sticker price. You should also include the labor and cost of lost production, as well as the age of the equipment.
Common replacement parts like the flex shaft and the gearbox can add up to a significant dollar amount. In fact, if both need to be repaired at the same time, it can cost almost 50% of a new drill. While it’s not common for these two parts to break at the same time, it can happen if an operator hits an obstacle while digging at a fast speed.
If two or more parts need to be replaced at the same time, you may be better off replacing the entire drill. However, making the repairs and rebuilds yourself can be a more financially feasible option for those with the experience and tools to do so.
Can you fix it yourself?
Hiring someone to fix your equipment is often a logical choice, as it alleviates the effort required on your part. However, when you take this route, it’s important to factor in repair costs and time that is outside of your control.
The alternative – fixing it yourself – doesn’t have to seem like a daunting undertaking. Many manufacturers have resources to walk you through the process. Little Beaver offers service videos that address common repairs and maintenance questions. It might seem tempting to pay someone to fix your drill, but educating yourself on the components and repair process can save you time and money in the long run. If someone on your staff is mechanically inclined, they should be able to tackle the repairs.
In what application do you use the drill?
 If you’ve got backup drills in your fleet, waiting for a repair might not be an issue. But for contractors who rely on the unit on a daily or even weekly basis, being without it could result in lost revenue. In the summer, especially, many local lawn and garden repair shops are backed up for 6-12 weeks, which is not a feasible wait time for many people. Depending on how long you’ve owned the machine and what industry you’re in, the decision to repair or replace might make more sense.
Rental
In the rental industry, only drills that operate bring in revenue. So if repairing a drill would take time, replacing it might be a better option. If time is the greatest concern, consider purchasing a second unit as a back-up and additional revenue source until the original drill is fixed.
In the rental industry, appearance of equipment is a large deciding factor for customers. Replacing a worn-out drill with a shiny new one might make more sense for the fleet. If turning inventory is on an annual or 18-month requirement, the chances are low that something would go wrong and require a full replacement before that time. In other instances, a rental center might repair a drill for 20 years. The criteria is different for each business, so make sure the cost and the results make sense for your store.
Fencing
In the fencing industry, it’s important to have a large enough fleet to change out drills if one needs repairs. Fencing contractors likely have more than one drill in their lineup, so taking one out of commission to get it repaired shouldn’t affect productivity. For many contractors, incremental costs broken up monthly are a more feasible option than a single, larger payment. But, it’s important to consider the cost of each of those repairs. Consider the overall age of the drill and how many key components could be showing that age.
What is the age and condition of the drill?
If a drill is maintained well and taken care of, it should last many years. There’s no rule that says “after 10 years or 10,000 hours of use, the motor will go out,” so it’s important to keep an eye on the machine. If a drill is rented out and used for 20 hours a week, it would likely require less maintenance than a fencing contractor who uses the drill 40 hours a week.
When considering repairing or replacing your drill, you’ll want to consider the overall health of the engine. If the engine is older and experiencing issues, replacement might be more logical however, if the engine is a rebuilt system and virtually like new, repair makes more sense.
Making a decision
If you suspect something is wrong with your drill, address it right away. If issues aren’t fixed in a timely manner, they can have a domino effect and create more damage. Taking care of one component right away can save time and hassle and prevent other issues.
Also, it’s important to remember that if you decide to purchase a brand-new drill, keep your old one on hand for replacement parts. Over time, it might be a good idea to fix up the old drill to use as a backup, too.
It’s hard to provide a cut-and-dry guide to repairing or replacing your equipment. The manufacturer can likely provide advice on your particular situation, so give them a call if you need help with the decision. Addressing problems and repairing or replacing your earth drill will help bring your operation back to maximum productivity.


 If you’ve got backup drills in your fleet, waiting for a repair might not be an issue. But for contractors who rely on the unit on a daily or even weekly basis, being without it could result in lost revenue. In the summer, especially, many local lawn and garden repair shops are backed up for 6-12 weeks, which is not a feasible wait time for many people. Depending on how long you’ve owned the machine and what industry you’re in, the decision to repair or replace might make more sense.