Keeping Safety in Mind Before Starting the Job
Whether you’re using a hand shovel or an excavator, an earth drill or a trencher, a hole is a hole and there are several safety precautions that come along with a digging project. Sharp tools present the opportunity for dangerous situations, let alone combined with the power of a mechanical or hydraulic rig. Choosing a safe machine, calling before you dig and operating the machine according to manufacturer recommendations are all things to consider before starting. Keeping safety in mind before starting any job is crucial to avoiding injuries, some of which can be serious.
Select a Safe Drill
 Choosing a drill with safety-enhancing features can make or break a project. No matter what kind of drill you’re looking for – mechanical or hydraulic, a larger rig or smaller piece of equipment – there are certain features to look for to ensure the safest operation.
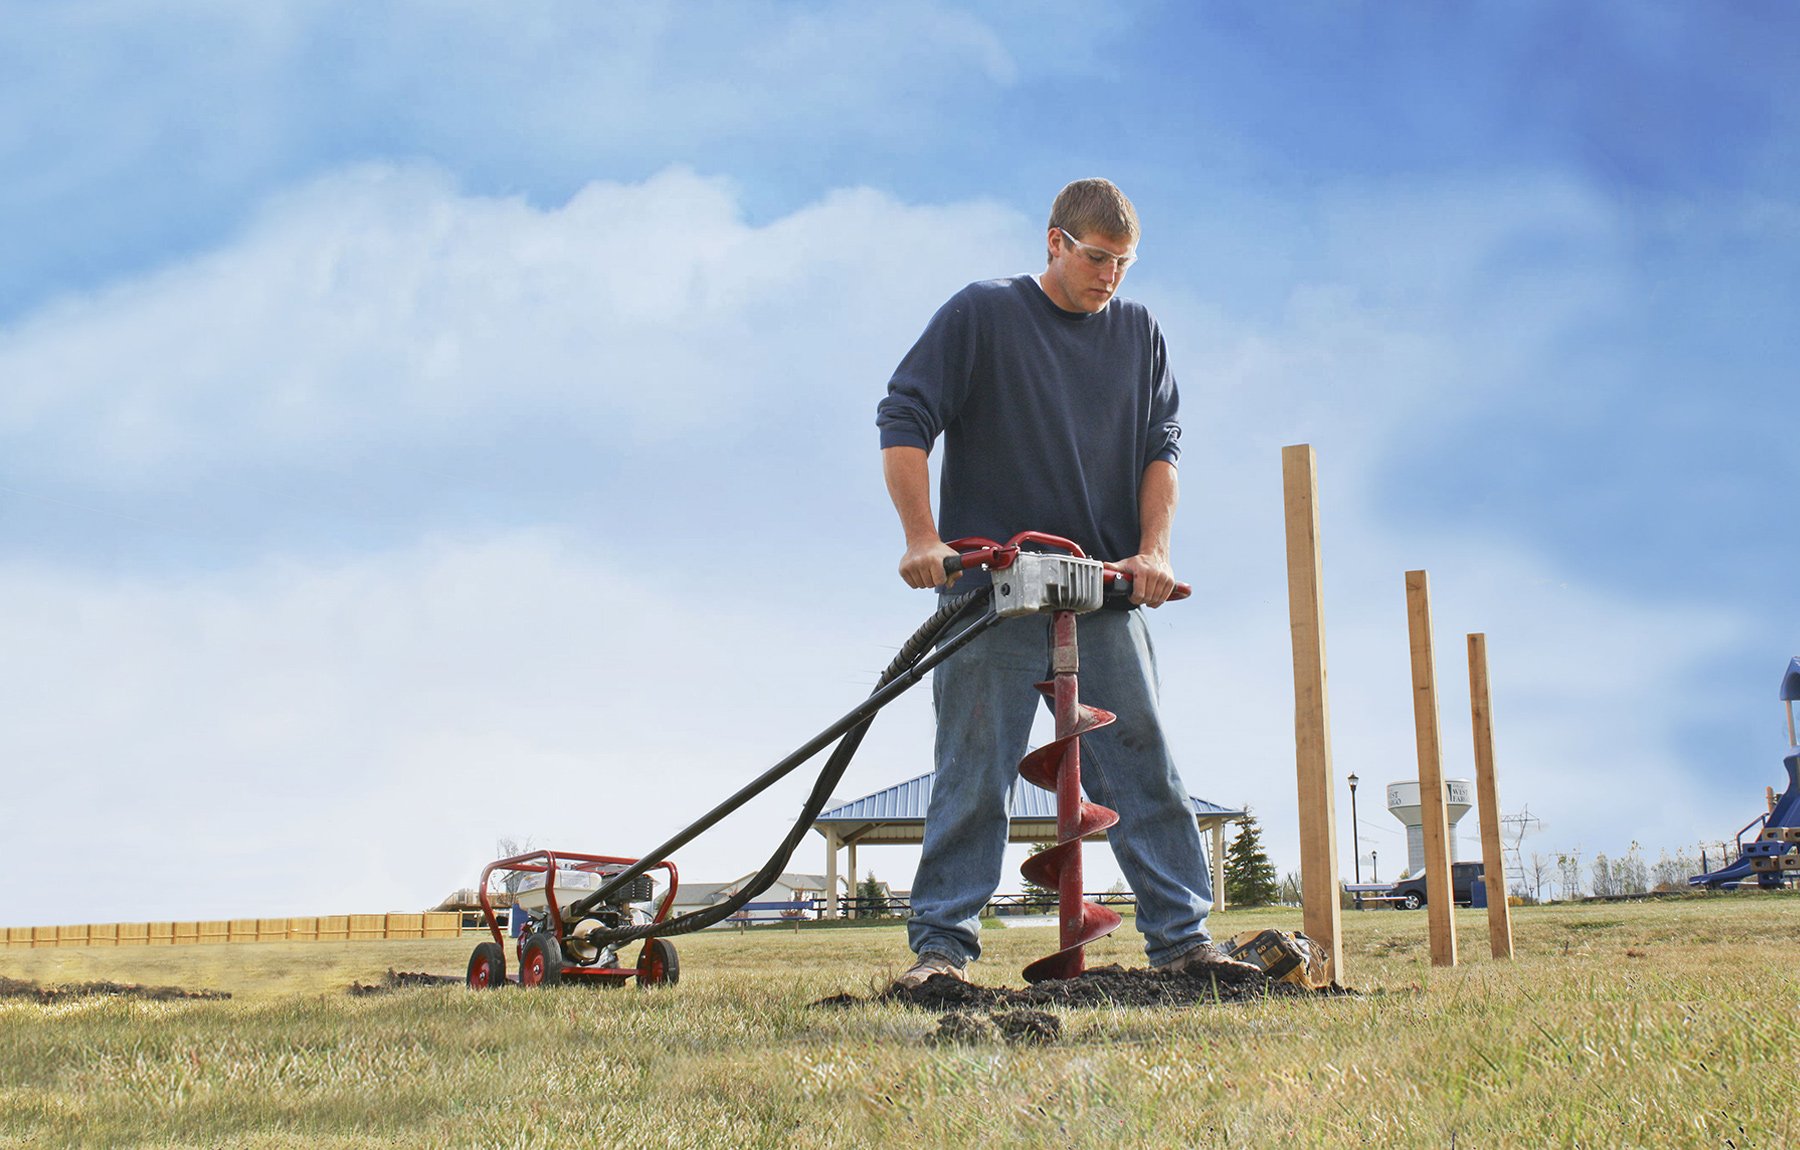
First, make sure the drill has a torque bar. This addition protects operators from the harmful effects of a drill’s torque by transferring kickback from the auger to the power source. By distributing force to the engine carriage as opposed to the handles, one person can safely and comfortably operate these drills. In addition to protecting the operator from harm, torque tubes reduce operator effort and fatigue.
Torque tubes are the only way to ensure safe operation of a one-man drill. The torque tube eliminates the kickback common with competitive earth augers, making one-man drilling safe, fast and productive. Many two-man drills exist, but if they’re not operated correctly, they present a handful of potential issues. If one operator slips or lets go, the other operator risks being thrown and injured. A one-man earth drill is designed to be a safe and efficient piece of equipment.
Additionally, mechanical drills are often equipped with a centrifugal clutch. If the auger encounters an object beneath the surface or if it’s overloaded, the clutch automatically slips to protect the operator from serious injury.
Call Before You Start
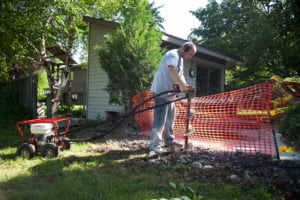
 Calling before you dig can be the difference between smooth sailing and a potential disaster. There are millions of miles of buried utilities below the surface, including gas lines, underground sprinklers, sewer pipes and more. Buried gas or power lines are the most dangerous, with the potential for electrocution, fire, severe burns or even fatalities. Always call the national diggers hotline at 811 at least 48 hours prior to digging to have underground utilities marked. When the inspector arrives, pay attention to the details since state laws differ when it comes to how long your permits are valid and what the paint or flags indicate. There may be multiple utility lines to be aware of.
Besides underground utilities, you should have a general idea of what lies below. Fill material, wood, rocks and more can be hiding underground. Take a good survey of your site beforehand. Not only does this provide another level of safety, but it helps you make a decision on which kind of drill bit to select.
Operate Safely
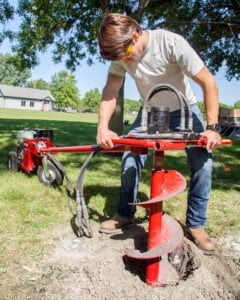
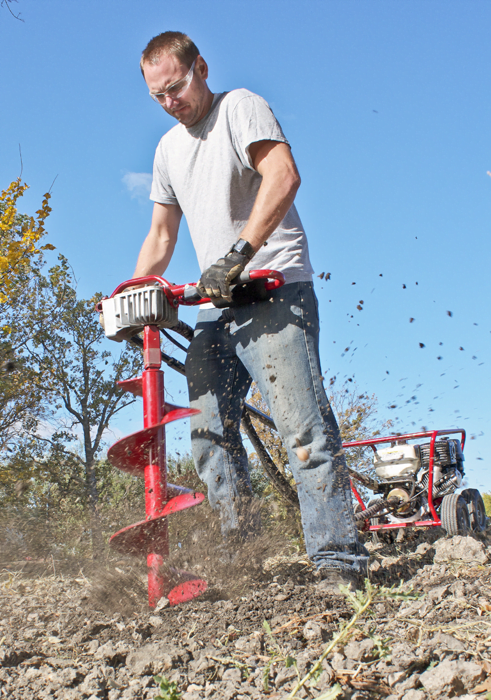
After you’ve equipped yourself with the safest drill and underground utilities have been marked, it’s time to start your project. If you’ve chosen a one-man drill, it’s important to operate the drill alone, as the handles are designed for a solo operation. Bystanders should be at least 10 feet away, and everyone should be wearing hard hats and safety goggles.
Avoid loose-fitting clothing, including gloves. If work gloves are too loose, they can hinder your ability to appropriately operate the drill. Wear work boots or quality athletic shoes, avoiding hanging shoelaces that could get caught in the auger.
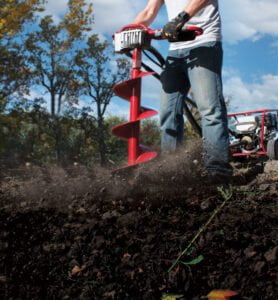
Once the auger is running, position it perpendicular to the ground for the best possible control and optimal results. Touch the auger to the ground before you start rotating. For the best control, adjust the downward pressure based on the soil conditions. If the soil is soft, ease up slightly. If the ground is harder, apply a little more pressure, but not so much that rotation slows or stops.
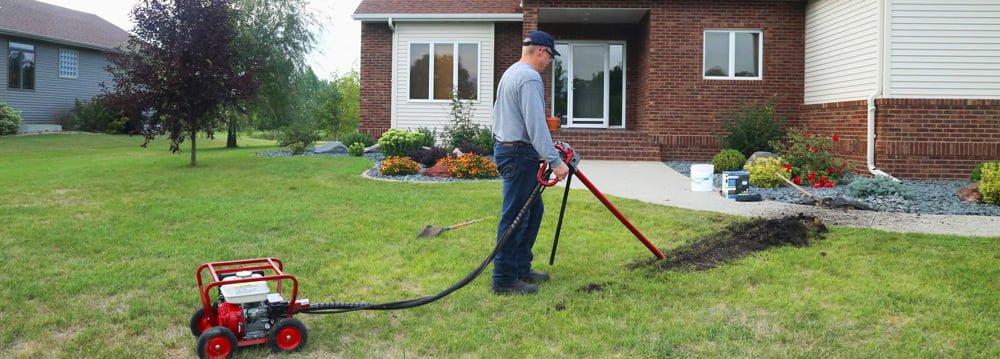
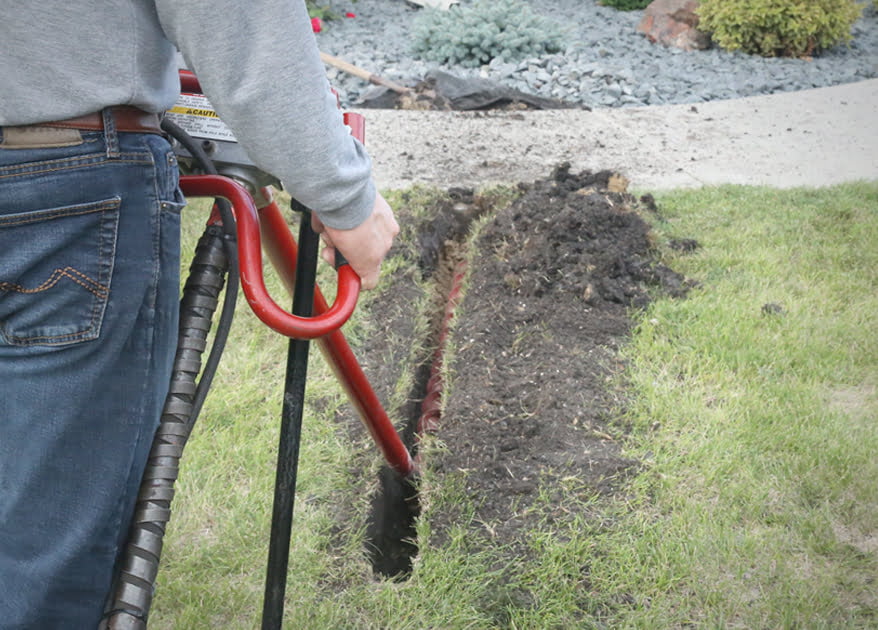
Once you’ve reached the desired depth, there’s a proper procedure for safely removing the auger from the ground. Release the throttle control and allow the auger to come to a complete stop. Once the auger has stopped turning, it can safely be removed from the hole. Hydraulic rigs feature a forward/reverse lever to make it easier to lift the dirt out. This allows the operator to ease the drill out of the ground as opposed to tugging heavily on the equipment, greatly minimizing the physical effort required to get the job done.
By following a few easy steps, you can ensure your drilling operation is safe, efficient and injury-free.


 Whether you’re a contractor or taking on DIY landscaping projects, efficiency, precision and safety are essential for a successful job. However, tackling different horizontal boring jobs typically means investing in multiple specialized machines and costs can add up quickly.
 A Versatile Machine
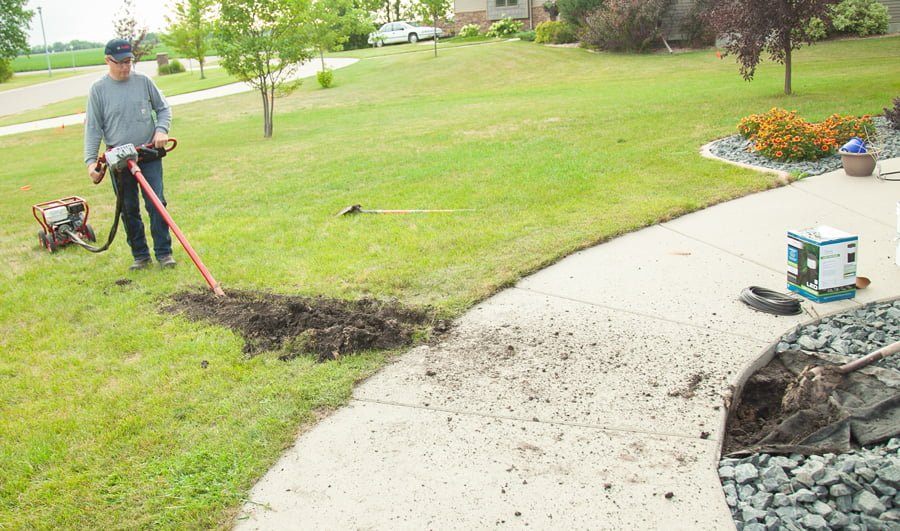
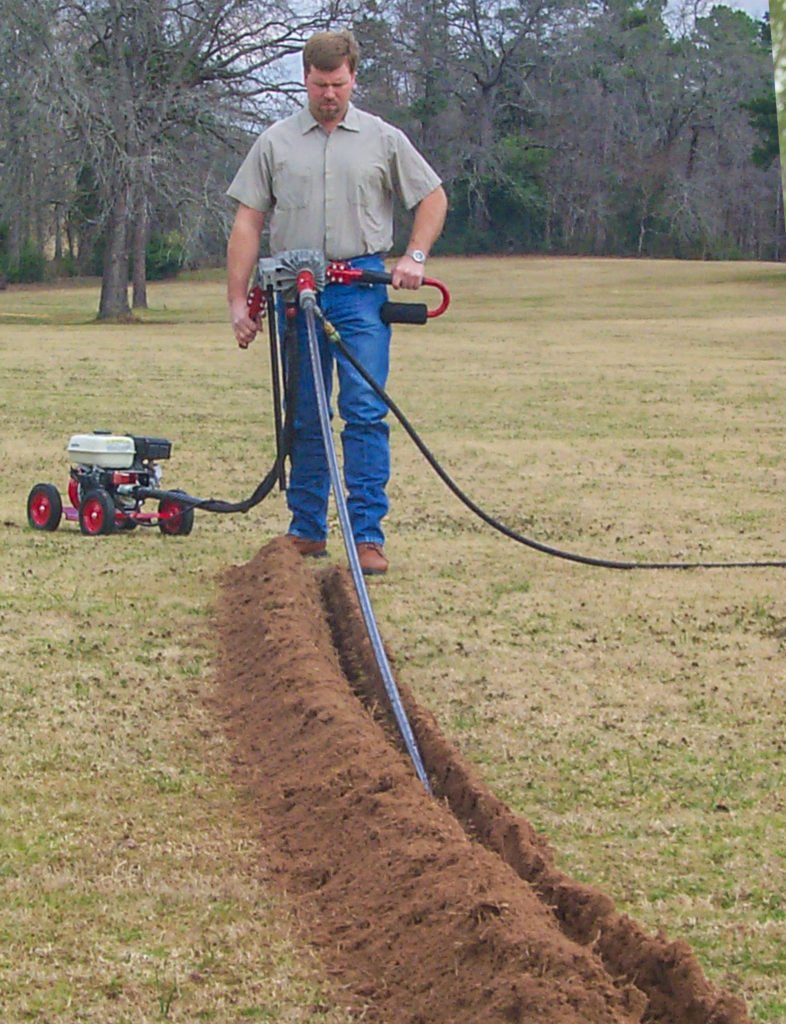 Sidewalk or Driveway?