Mechanical vs. Hydraulic: How do you choose?

Mechanical vs. Hydraulic: How do you choose?

Factors to Consider

It’s important to carefully consider the drill that will be most effective for the job you plan to take on. The decision is as simple as evaluating the type of work that needs to be done and the environmental conditions that will affect your drilling. Factors like soil type, hole size and auger speed requirements can tell you if a mechanical or hydraulic earth drill is best for your next project.

Check out our handy infographic for a quick guide on choosing the right drill for the job. If you find it helpful, share with your friends!

Mechanical or hydraulic earth drill

Still stuck? Contact Little Beaver and a product expert will help you choose your dream drill.

Who Needs Horizontal Boring Equipment?

Who Needs Horizontal Boring Equipment?

Horizontal boring kit

Keep Projects Going When Up Against Pavement

From landscape lighting installation to irrigation system maintenance, horizontal boring is highly valuable for keeping projects going when up against pavement. As a result, many landscaping professionals and homeowners find a fast return on investment in horizontal boring equipment. But others fail to realize the benefits due to misconceptions that boring machines are too expensive to rent or purchase or are limited in use.

The applications for boring equipment in landscaping are actually quite diverse. Horizontal boring is highly valuable for every job from landscape lighting line installation to irrigation system maintenance. And whether it’s contractors with their own equipment or rental centers serving landscapers, homeowners and do-it-yourselfers, most already have machines that can pair with boring attachments and accessories, maximizing their fleet efficiency with multi-purpose equipment that can be used every day and on every job.

Little Beaver’s horizontal boring kit turns a traditional earth drill into an economical boring solution. Though inherently more limited than a large dedicated boring machine, the Little Beaver Boring system easily completes the jobs landscapers and homeowners tackle.

Solutions for the homeowner

A Little Beaver earth drill fitted with the horizontal boring attachment is a perfect fit for the do-it-yourselfer. The drill and attachment are lightweight and safely operated by just one person. And because it’s a cost-effective alternative to renting larger boring machines, it’s an ideal solution for cost-conscious homeowners.

Homeowners and DIYers use the horizontal boring kit to install and maintain:

  • Sprinkler systems
  • Water softener lines
  • Landscape lighting lines
  • Gas lines

Fast ROI for the contractor

Professional landscape contractors are often faced with small- to medium-size projects that do not require the industrial capacity of expensive and heavy directional drilling equipment. While moles are geared for this size of project, they are expensive to buy or rent, complicated to use, and typically require at least two people to operate.

A horizontal boring attachment is an inexpensive way for contractors to efficiently install or maintain:

  • Fiber optic lines
  • Gas lines
  • Irrigation systems
  • Conduit pipe

For more ways to improve landscaping efficiency, contact a Little Beaver expert.

Kwik-Trench Maintenance Tips and Best Practices

Kwik-Trench Maintenance Tips and Best Practices

Kwik-Trench Maintenance Tips and Best Practices

Prevent Costly Repairs and Downtime

Keeping up with routine maintenance and operation best practices can help keep projects running smoothly and prevent costly repairs and downtime. If you follow these quick and easy tips, the Kwik-Trench mini trencher is sure to provide many years of unmatched service and profits.

1. Check the engine nuts and bolts after every 25 hours of use and tighten, if necessary. Also, add sealant to bolt threads at that time to prevent leakage.

2. Change the engine oil after every 10 hours of use, according to engine manufacturer’s instructions.

3. Clean the air filter after every 10 hours of use. In dusty or dry conditions, increase cleaning frequency. In extremely dusty conditions, protect the engine by attaching a remote air filter with a pre-cleaner, which will extend the engine life.

trencher cutter wheel maintenance

4. Check the slip clutch facings’ thickness after every 20-25 hours of use. If it has worn to 1/16-inch thick or less, change it to maintain its 30-feet-per-minute trenching speed.

5. Grease pillow block bearings after every 100 hours of use to reduce wear and prevent corrosion.Pillow block bearing

6. Clean vertical frame posts and sleeves frequently to prevent binding. Use a silicone lubricant rather than an oil-based lubricant or grease.

7. Check for missing teeth after every use. Using the Kwik-Trench with missing teeth will increase the possibility of engine vibration. Be sure to replace the disc blade if it’s missing teeth before the next use. Prevent teeth breakage by backing off immovable objects.

8. Do not drop machine off the back of a vehicle. This may cause damage to the body and frame. Machines should always be lifted off, ramped or transported by a trailer.

For additional questions or tips, review the product manual or contact us today.

Product Manuals: KT100 | KT200B | KT1200B | KT2400B

Related Articles

Faster Fencing with Less Downtime

Faster Fencing with Less Downtime

Earth Drill Maintenance

Stay a Step Ahead of Your Drill’s Maintenance

Routine preventative maintenance is crucial. It boosts uptime and ROI for earth drills, which means faster project turnarounds and hassle-free hole digging — all while reducing your service costs.

To help you stay a step ahead of your drill’s maintenance, our Little Beaver team created a video series that aims to reduce downtime and increase service life for your equipment. In addition to step-by-step maintenance instructions, the videos provide information regarding best practices and tips for getting the most out of your drill.

Our videos address the most common issues encountered with Mechanical and Hydraulic Earth Drills and provide in-depth troubleshooting advice.

Master Horizontal Boring: Pro Tips & Solutions

Master Horizontal Boring: Pro Tips & Solutions

Horizontal Boring Tips and Best Practices

Achieve Project Success with the Right Methods and Equipment

If you’ve installed landscape lighting, underground sprinkler systems or drain tile running through a lawn, you understand the demanding work caused by a sidewalk or driveway blocking your path. Boring under cement may not be a part of every job you do, but it’s nice to know you have a solution available for this situation.

With help from Little Beaver’s horizontal boring attachments, you can get underneath almost any concrete obstacle to install conduit, pipe and irrigation systems. The attachments pair with our Mechanical Earth Drills. Before you start your next project that involves burying lines, consider your horizontal boring options and learn best practices.

Sidewalk or Driveway

The first step is to evaluate the size of the project. This will help you determine the equipment best suited for your needs. Smaller jobs, such as boring under sidewalks to connect a water line or run wires for lighting, are best done with a sidewalk boring kit that easily bores up to 5 feet.

Larger projects — as long as 50 feet — can be tackled with the driveway boring kit. This attachment bores smoothly under a street or driveway, which makes it ideal for installing underground irrigation systems. After choosing the proper attachment, you can get started with your boring project.

Digging In

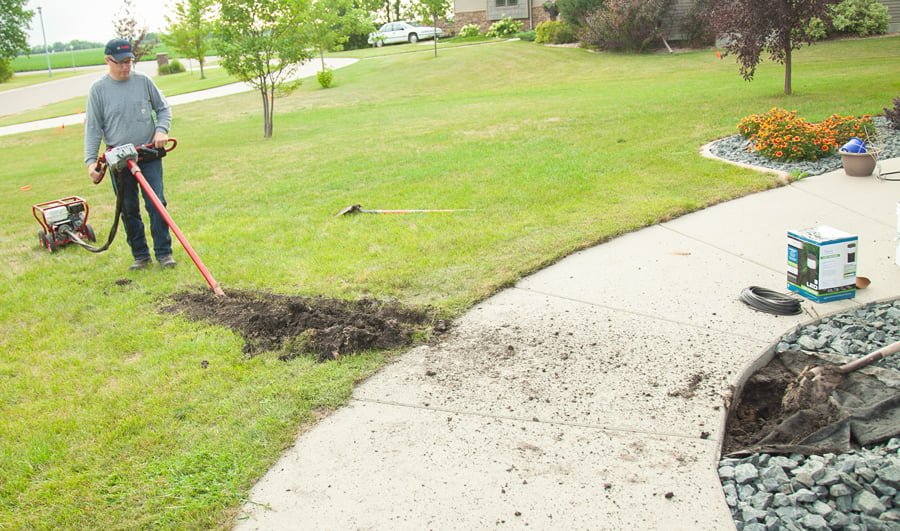
First, gather your horizontal boring kit, mechanical drill and either a trenching machine or a round point hand shovel and spade. For wet drilling you will also need a garden hose, 3/4-inch Schedule 80 water pipe and 3/4-inch pipe couplings.

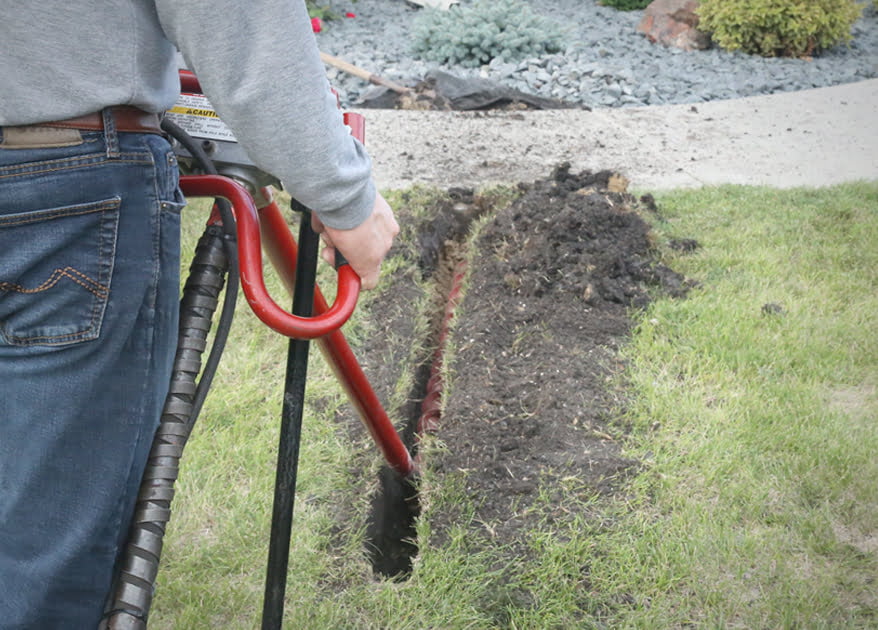
Then, dig a small starter trench so that you can reach the correct depth and angle as you start to bore. The dry boring kit requires a 6-foot-long trench 6 inches below the bottom of the concrete slab. When using the wet auger kit, dig a trench 15 feet long. Trench depth is important, as a deeper trench will greatly reduce the risk of cracking concrete while boring. Then move to the opposite side of the pavement and dig a shorter trench to receive the drill as it passes from under the pavement.

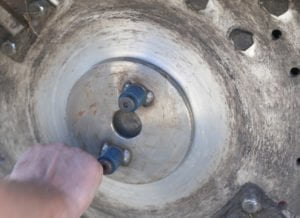
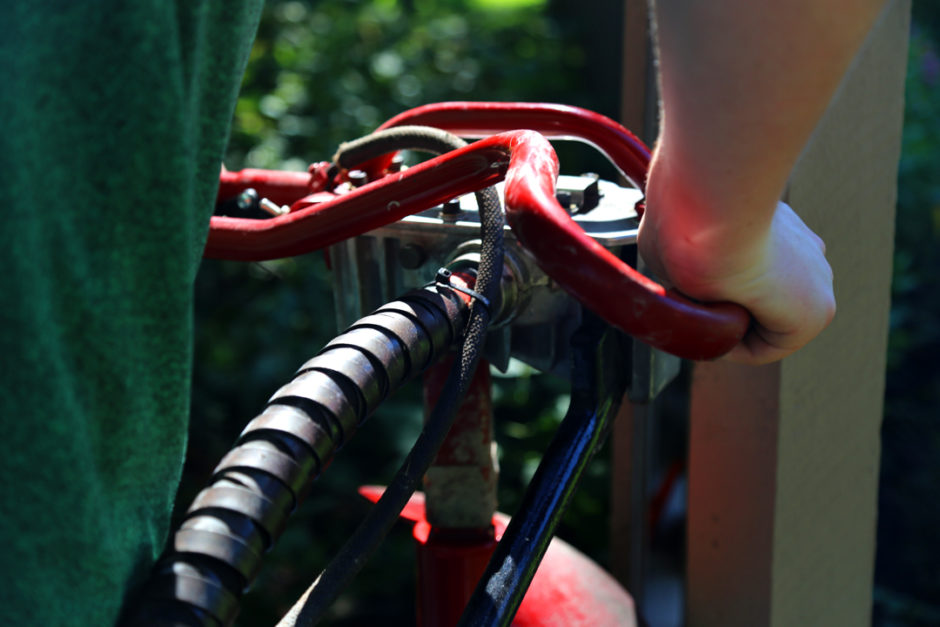
Since this is such a low-torque job, the torque tube is not needed. Disable it by attaching the horizontal drill key to the tube connector, which activates the safety interlock. Drill setup varies slightly for each auger kit, so follow the instruction manual for finer details. Before you begin, call 811 to verify there are no existing utilities in the digging area and follow all other safety precautions.

Here to Serve You

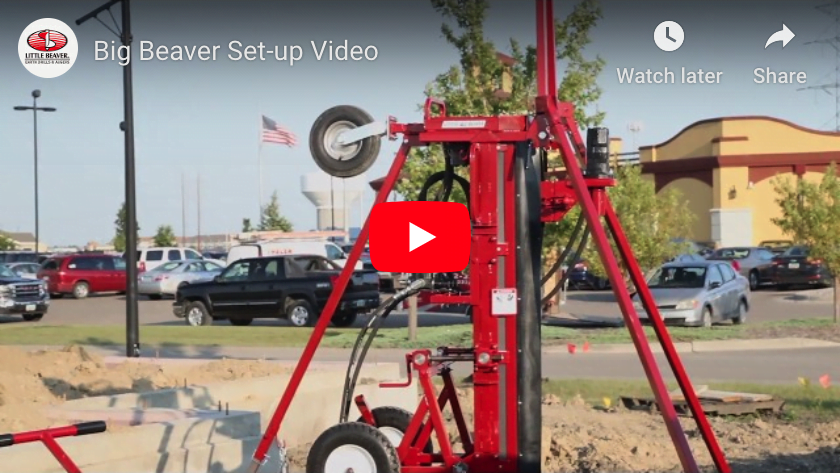
Little Beaver Mechanical Earth Drills are designed to make horizontal boring easier so you can take on more boring projects in a shorter period of time. To complete your next horizontal boring job quickly, efficiently and safely, watch our attachments in action. Then contact us to get the horizontal boring attachment that fits your next project. Do not let sidewalks and driveways get in your way.