Tips For Preventing and Diagnosing Mechanical Earth Drills Issues

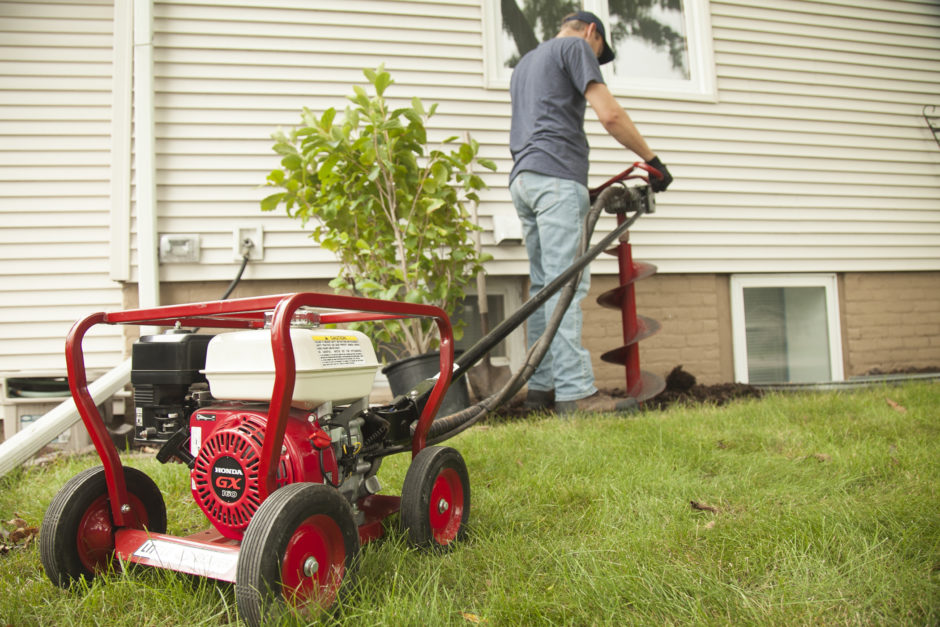
Mechanical drills’ high operating speeds and compact sizes make them a popular choice for contractors and rental centers — and ideal for drilling holes quickly. Although these transmission-powered machines have significantly more moving parts than their more costly hydraulic counterparts, simple knowledge of how to prevent and diagnose common problems will keep your drill running efficiently. Below are answers to questions we get often and some tips to help you achieve better ROI.
What steps can I take to minimize the risk of damaging the drill?
Start by choosing a unit with the correct gear ratio and auger for your soil. For soil with minimal rocks and few roots, a 10:1 gear ratio with a standard auger will provide fast and efficient results. For drilling in clay or other difficult conditions, a 10:1 gear ratio will still work, but switch from a standard to carbide blade to effectively cut through the soil. If you’re working in an area with rocks exceeding 3 inches in diameter, choose a drill with a 20:1 gear ratio reduction and a heavy-duty auger. The gear reduction slows the auger from 360 to 180 rpm and will pop the rocks out of the soil and continue spinning.
Should I be concerned that the gearbox is hot or making an unusual sound?
The gearbox will always be hot to the touch when the drill is operating. However, if the transmission is extremely hot, smells like burned oil or starts making unusual sounds, check the oil level. Oil leaks can occur around the seal, lower output shaft or the top of the transmission, and will lead to drill damage if ignored. Low oil also increases the risk of premature bearing wear, which can result in excessive heat and unusual sounds. To prevent early wear, check the transmission oil level and condition monthly or every 40 hours of operation.

It’s important to clean, examine and grease the flex shaft every 50 hours of operation to prevent damage.
The engine is running, so why won’t the auger turn?
A problem with the drivetrain, most likely along the flexible drive shaft, is to blame. To pinpoint the issue, start by inspecting the end fittings for cracks or breaks. If there are broken wires or sharp kinks, it’s time to replace the shaft housing. If things appear fine from the outside, remove the flex shaft for further inspection. To prevent flex shaft damage, clean, examine and grease the flex shaft every 50 hours of operation. Check your owner’s manual to determine the correct procedure for greasing the flex shaft.
Why does the clutch slip or cause the drill to jerk during operation?
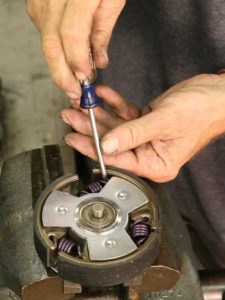
Over time, a drill’s clutch padding wears, resulting in reduced performance when engaging the auger or accelerating the engine from idle to full speed. The clutch will continue to run, even if the padding is completely gone, leading to easily detectable problems. It’s best to inspect the clutch every 30 days or any time you lubricate the flexible drive shaft. Regular checks will help you track the wear so you can replace the clutch pads before the drill loses performance.

Spring damage can cause the clutch to overheat and may result in the auger spinning when the engine is idling. If this occurs, replace the springs immediately.
Why is the drill less efficient than it used to be despite everything working properly?
Too often, operators allow the points and blades to wear beyond the point of being effective. The drill can run perfectly and spin all day, but if the blades and points are worn, the unit will become less and less effective.
Where can I find additional resources?
Information is always available at your fingertips, including comprehensive maintenance brochures and video tutorials. These helpful tools are excellent resources and often include visuals as well as step-by-step instructions.
Knowing your drill, keeping up with maintenance and accessing additional resources when questions arise will go a long way toward successful drilling.