Last updated Mar 27, 2026
Which Earth Drill Features Lead to the Highest ROI?
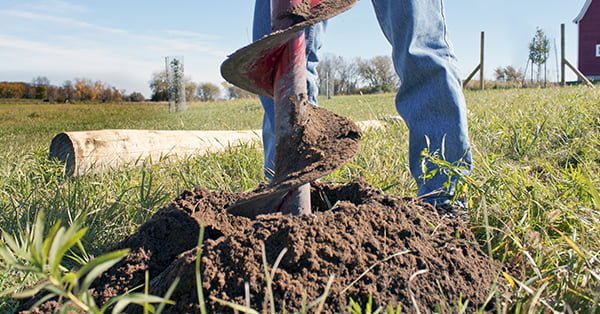
Versatile equipment is the hallmark of successful rental centers. A good earth drill rounds out the equipment fleet, bringing infinite rental possibilities. It’s important to consider all the features of each earth drill before making the final decision on which to purchase. To maximize ROI, rental centers should focus on durable construction, strong safety features, easy maintenance and simple auger installation.
Durable Construction
Every rental center needs durable equipment to stand up to years of tough use. It’s no secret that equipment that lasts 20 years has much higher ROI than equipment that only lasts 5 years. Wear-reduction features are some of the most important when it comes to extended equipment life. Look for earth drills that feature welded steel plates and tubes. They hold up against hard use much better than other, less durable materials.
Another feature to look for is a centrifugal clutch. When the drill hits a buried object, the clutch reroutes the drilling pressure away from the drill’s components to protect them from damage. It’s an automatic protective measure and lowers the chance of the engine stalling and requiring repair.
Little Beaver earth drills are manufactured in-house at our plant in Livingston, Texas. This both increases the quality of construction and decreases production costs for customers. Little Beaver thoroughly tests each piece of equipment before shipping with the goal of continually improving each drill and auger.
Ease of Maintenance
Durable construction means nothing if maintaining the earth drill is too difficult for a rental center. At Little Beaver, we design our mechanical and hydraulic earth drills for repair with ordinary hand tools. Quick and simple maintenance keeps the drill out on rent instead of in the shop. Easy access to the throttle, flex shaft, transmission oil bath and other areas makes routine maintenance a breeze. We also offer online maintenance videos for our mechanical and hydraulic earth drills.
Another benefit some manufacturers offer is a free service or technical consultation from the factory itself. Some, like Little Beaver, also offer factory repair. You can return damaged parts to our facility with a description of the problem, and we will repair the item and ship it back to you. Knowing the maintenance and warranty of the earth drills in your fleet ensures you can get the most ROI.
Safety Features
Safety features are essential and a strong consideration for renters choosing a drill. Little Beaver earth drills feature a steel torque tube. The torque tube transfers dangerous kickback to the engine carriage as opposed to the handles. This makes Little Beaver earth drills safe for one-man drilling, which is an additional benefit for contractors looking to optimize their crew or DIY customers who are tackling a project alone.
While the centrifugal clutch protects a mechanical drill against damage, it also contributes to operator safety. If the drill’s auger encounters an object beneath the surface or if the drill is overloaded, the clutch automatically slips to protect the operator from serious injury.
We incorporate a pressure relief valve on hydraulic earth drills. The pressure relief valve engages if the auger becomes overworked and the drill reaches a certain hydraulic pressure. This automatically stops auger rotation and halts the drill before it reaches a dangerous overload point. The feature increases safety for the operator and prevents damage to the machine.
Easy Auger Changeouts
Easy auger changeouts are a great way to get the most out of an earth drill both as a customer and as a rental center. Quick and consistent auger connection options expand the earth drill’s capabilities, opening the door to more rental opportunities and applications. Little Beaver augers feature a snap-on connection that allows operators to switch between augers quickly without specialized tools.
The Final Decision
When it comes to deciding which earth drills to invest in for your rental center, the best options are the safest and easiest to maintain. By working with Little Beaver, you can feel confident you’re getting strong construction, easy maintenance and the most up-to-date safety features. To learn more about how a Little Beaver earth drill can benefit your rental center, contact us today.
Last updated Mar 27, 2026
Improving ROI for Rental Centers
At both the collegiate and professional level, great quarterbacks are few and far between — and for good reason. In addition to the hard work and dedication it takes to reach that level of competition, quarterbacks face a slim margin of error on every down. To complete a single pass, a quarterback must know the roles of defenders and anticipate their actions, account for the speed and timing of the receivers, and, of course, make a precise throw into a small and fleeting window of opportunity.
Running a rental center can feel much the same. Discovering efficient, safe and durable equipment, like Little Beaver Mechanical Earth Drills, is a game-changing play.
The One-Man Approach
Rental centers should think of equipment in terms of usability. A greater emphasis on user-friendly equipment attracts a broader variety of renters. This is true for both crews looking to supplement their fleet with additional equipment options, and for individuals needing a tool for DIY landscaping.
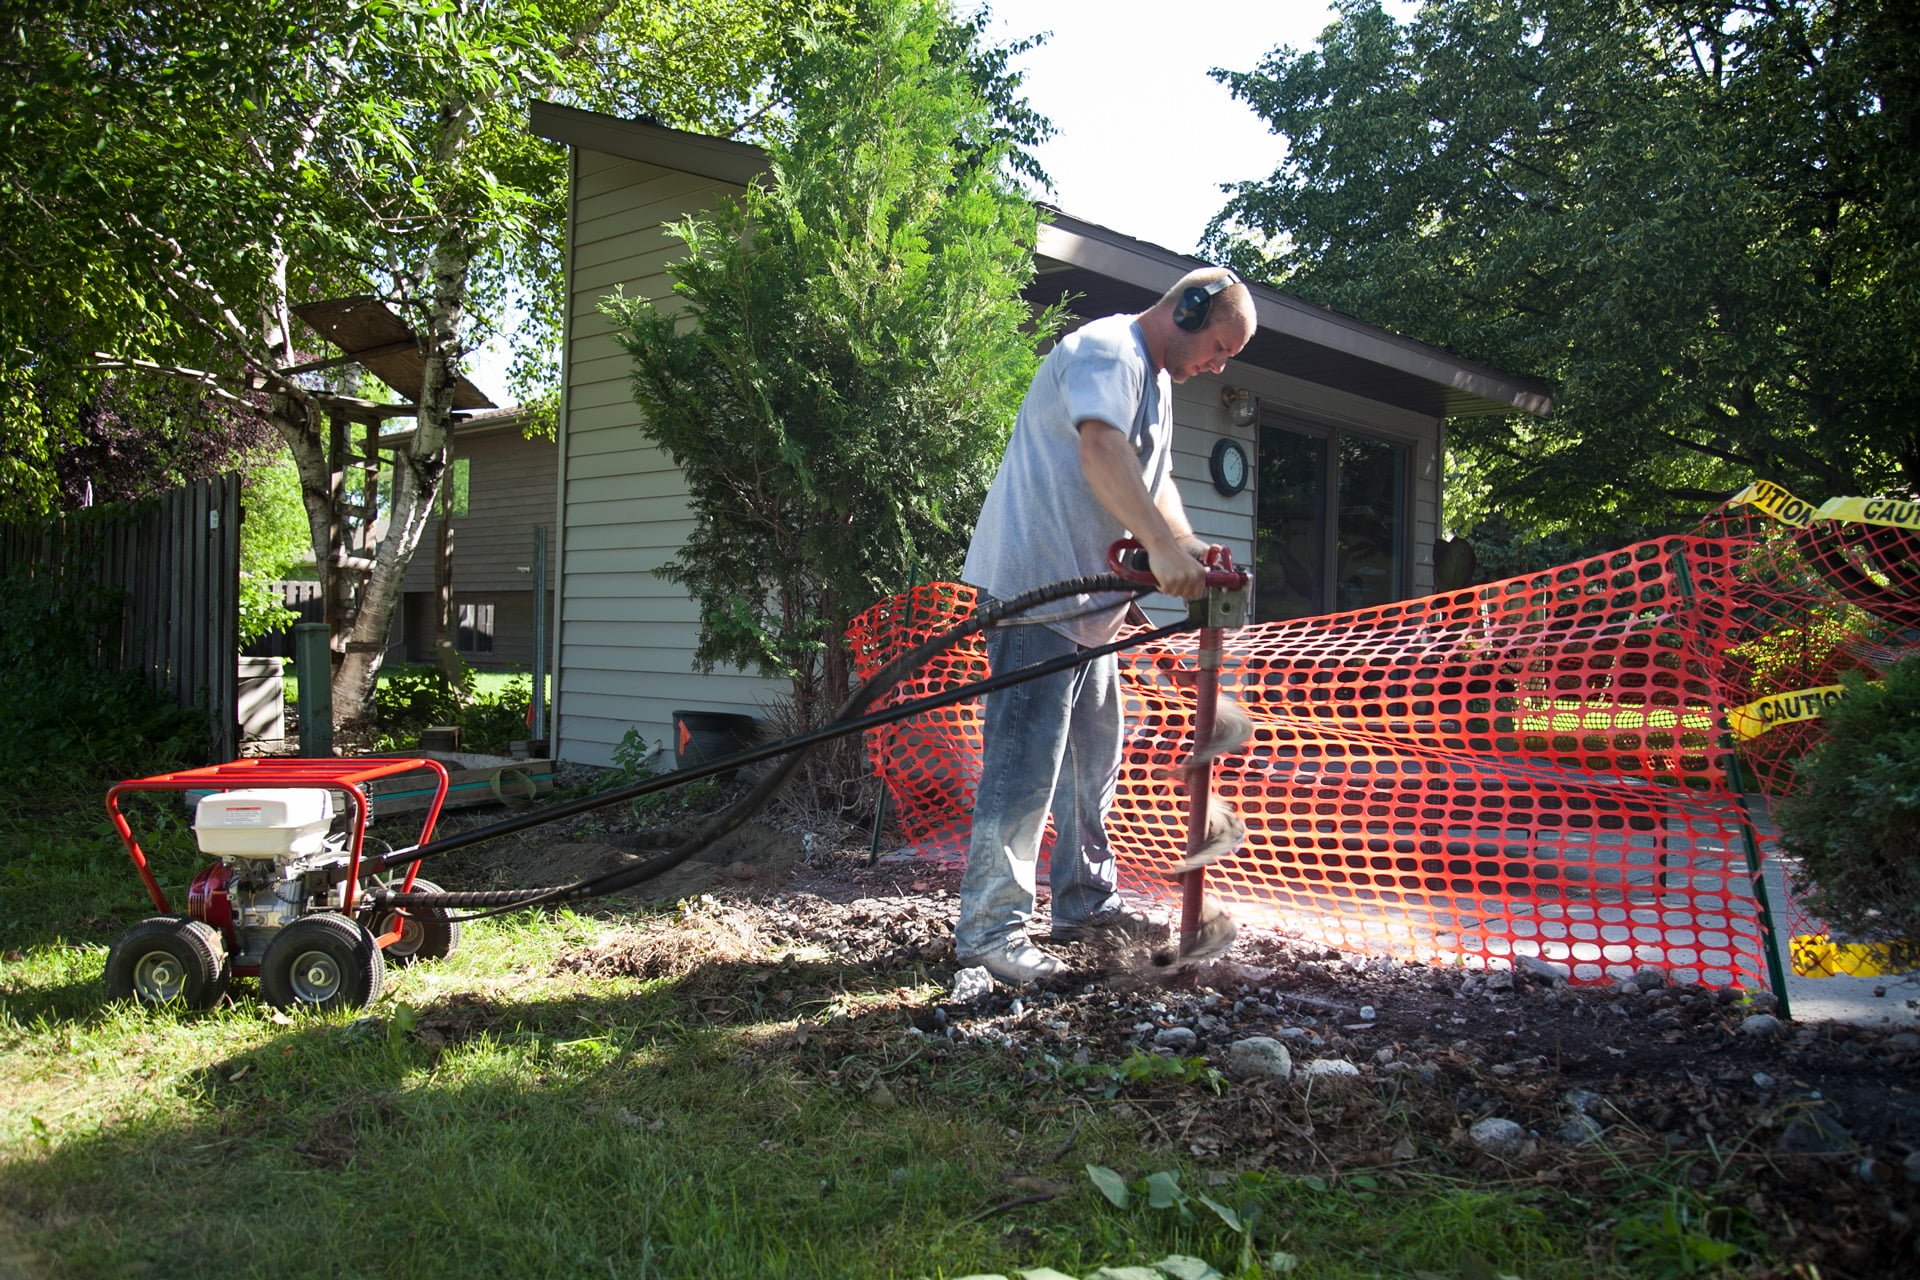
Little Beaver Mechanical Earth Drills provide high auger speeds — up to 360 rpm — for fast hole digging. Many drills require two operators to mitigate the risk of injury from the torque and kickback associated with the drill’s power and speed, but our drills take a different approach. Little Beaver Mechanical Earth Drills feature engines that are mounted on a separate carrier attached to the drill’s handles via a steel torque tube. The drill’s torque and kickback are transferred to the engine carrier, as opposed to the operator, making safe one-person operation possible. This means you can offer unmatched efficiency for contractors, and a one-operator option for homeowners tackling their own projects.
Add Opportunities
Solutions to expand an earth drill’s capabilities — and, in turn, your rental opportunities — are another option to consider. At Little Beaver, we offer snap-on augers that take seconds to change, allowing for a quick adjustment to match your customer’s drilling requirements. We offer a full range of diameters between 1.5” to 16” in both 36” and 42” lengths, meaning you can provide a versatile line of augers for a variety of rental needs.
Meanwhile, our horizontal boring kits add to our Mechanical Earth Drill’s capabilities. These kits give the earth drill capabilities similar to a horizontal boring machine for drilling underneath sidewalks or driveways, increasing the equipment’s rental applications.
Benefit from Durability
Equipment repairs inevitably take time to complete. Even a basic repair can lead to as much as a full day of lost rental time both from the renter and your rental center. That’s why our Mechanical drills have features such as a heavy-duty transmission and centrifugal clutch to lessen the likelihood of untimely breakdowns. When drilling, it’s common to strike rocks, roots and other buried objects. If the auger hits an object, the centrifugal clutch releases, stopping rotation and preventing damage to both the auger and transmission.
Solutions for Success
While quarterbacking a successful rental business is no easy task, finding solutions that increase the gap between revenue and ruin is a great way to work toward this goal. Simple solutions to versatility and maintenance times are among the easiest ways to manage both margins for error and profit margins. Any equipment that can single-handedly increase a business’s capacity to take on additional renters while reducing the cost of maintenance is worthy of an MVP award.
To learn more about how rental centers can benefit from our earth drill options, contact Little Beaver today.
Last updated Mar 27, 2026
How the Big Beaver became one company’s standby for repairing foundations
Eddie Zansler, owner of North Dallas Foundation Repair, has been in the business for more than 25 years. He knows how important it is to have a hardworking crew and perhaps even harder-working machinery on a jobsite. When it comes to installing concrete piers, Zansler swears by the Big Beaver earth drill from Little Beaver.
A Method to the Madness
There is no one-size-fits-all approach to repairing foundations. There are upwards of 10 methods of foundation repair, and they often go by multiple names. In the most common method, contractors use a steel or concrete pier support to minimize stress on foundations. Concrete piers can be the more effective option, as they can withstand higher load capacity and are often less expensive.
“Concrete piers are an economical solution for a lot of customers,” Zanler said. “They’re also sometimes the only choice, as steel piers aren’t usable in all locations or soil conditions.”
Zansler installs concrete piers by pushing 6-inch round concrete sections directly into the ground. This is done with a hydraulic ram that is secured to the slab of the structure that needs to be lifted, and then it is lifted until a certain resistance pressure is established.
There are obviously many ways to remove dirt to prepare for foundation repair. A manual process — hand-digging holes — results in little landscape interruption but is much harder on the workers. Large equipment options like a mini excavator are less labor-intensive but can result in a torn-up yard and increased project costs.
Larger equipment is seldom the best choice for residential foundation repair, which makes up the majority of Zansler’s projects. These projects often involve tight spaces and finished landscaping, which can present challenges. For these cases, Zansler and his crew turn to the Big Beaver drill. The auger drill rig is a reliable machine for environmental test wells, soil sampling and foundation repair.
“The confined spaces and the landscaping make it hard to use an excavator or oversized equipment,” Zansler said. “The Big Beaver is ideal for those situations.”
Minimizing Labor in a Labor-Intensive Industry
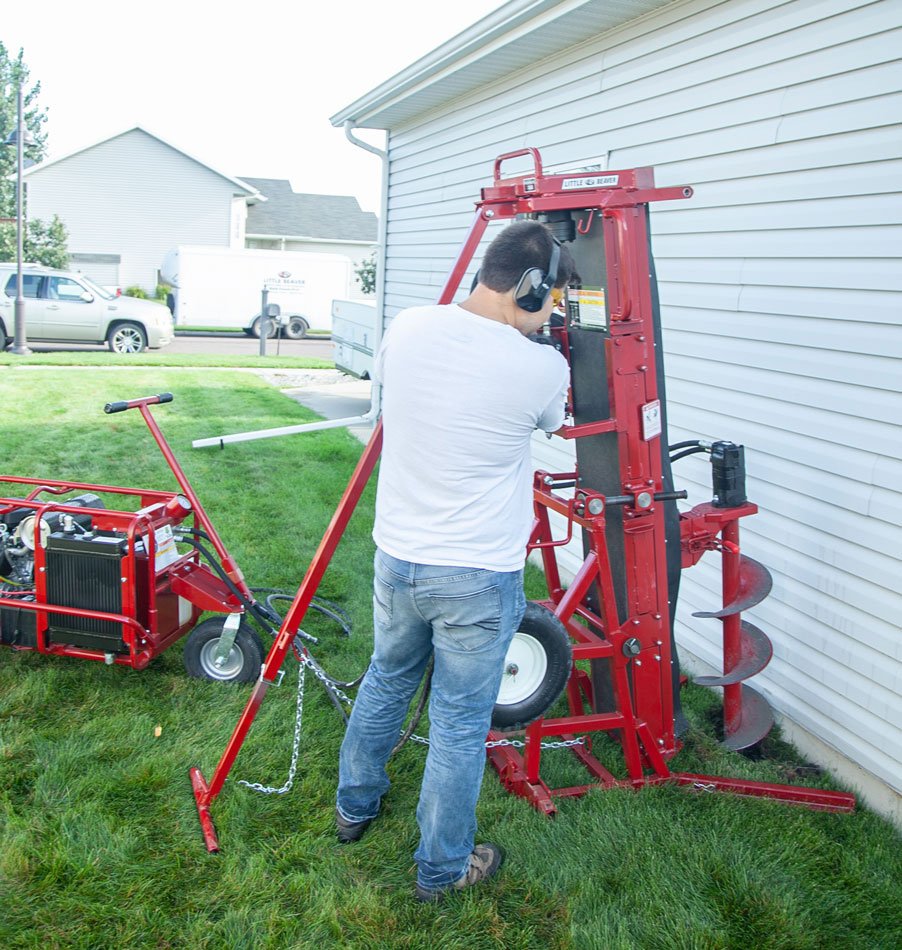
The Big Beaver requires less manpower than alternate methods, and less worker fatigue means fewer safety issues and overall happier employees. Zansler explained, “With smaller handheld augers, you have to lift up on the auger head itself, which really strains my men. With the Big Beaver, all of the lifting is done by the machine.”
Because the Big Beaver is hydraulically driven, the up-and-down movement of the auger is controlled by simply pushing and pulling a lever. The rotation of the auger for forward and reverse is done with a separate lever. The continuous flight augers bring all the soil cuttings to the surface where they can easily be removed with a shovel.
In an industry where physical labor plays a huge role, making the work easier for employees makes all the difference. Zansler says they’ve added motorized wheelbarrows and dump trailers, among other equipment, to help ease the physical strain on workers. Keeping workers safe and uninjured is key to avoiding the dreaded employee turnover. Providing easy-to-use equipment like the Big Beaver is key, according to Zansler.
If It Ain’t Broke, Don’t Fix It
The Big Beaver has been Zansler’s No. 1 piece of equipment for more than 12 years. With the combination of safety and high-quality work they can provide with it, he says they will continue using it.
“With the Big Beaver, we’re able to reach the maximum depth possible, and penetrate rock if we hit it,” Zansler said. “It’s so powerful when drilling the holes, which results in a much higher-quality pier.”
He estimates that he’s used the Big Beaver to drill thousands of holes for foundation repair around the north Dallas area. With increased power and speed, Zansler and his team are able to complete more projects per week than they would be able to with an alternate method.
Better Results with the Big Beaver
Overall, Zansler credits the Big Beaver to saving him hours or even days on a project. Without it, he’d have exhausted employees, more time into projects and lower-quality results. Just like a house needs a strong foundation, a contractor needs strong equipment, and the Big Beaver works to support both.

Last updated Mar 27, 2026
Boost your ROI with One-Man Drills
Between capitalizing on opportunities, attracting and retaining customers, hiring and motivating good employees, fending off the competition and managing expenses, the margin for error is small when it comes to running a business.
Labor and equipment costs are two of the most impactful variables affecting profits for contractors. For this reason, discovering efficient and durable equipment that can also reduce labor costs, like Little Beaver’s Mechanical Earth Drills, is a game-changer.
Maximizing Manpower
For starters, wages, benefits and payroll taxes add up quickly. This is why labor is often a contractor’s biggest expense. If you run a high-volume digging business, looking at the equipment your crew uses to dig holes is one of the best ways to reduce costs and increase profits.
A lot of contractors use mechanical earth drills to dig holes. While these drills can provide high auger speeds — up to 360 rpm — for fast hole digging, most come with a major drawback. Many fail to protect operators from the torque and kickback associated with the drill’s power and speed and, as a result, require two operators to mitigate the risk of injury from an out-of-control drill.
Two or three employees often make up an entire crew, so projects can get off to a slow start when two are tied up digging holes. This is the norm for many contractors. But, with Little Beaver earth drills, it doesn’t have to be. Little Beaver’s Mechanical Earth Drills feature engines that are mounted on a separate carrier attached to the drill’s handles via a steel torque tube. The drill’s torque and kickback are transferred to the engine carrier, as opposed to the operator, making safe one-person operation possible.
With equipment that allows for one-person digging, you can free up that second operator to complete other portions of the job. And, the manageable size and efficient design of Little Beaver Mechanical Drills decreases labor costs, increases your crew’s capacity to take on more work and jobs get completed faster.
The Proof Is in The Profit
A single residential fence project — an 80- by 40-foot standard backyard wood fence with 8-foot-long sections — requires approximately 20 holes. From unloading the drill to finishing the final hole, this portion of the job takes about an hour for two people to complete. With a Little Beaver Mechanical Earth Drill, however, the work can be completed in roughly half the time while the second person starts on other aspects of the project, such as unloading materials and placing posts.
Ultimately, this can shave as much as 30 to 45 minutes — more for larger jobs — off of the total time it takes to finish the project. Although it may not sound significant, 30 minutes per job adds up quickly and can be enough to help a single crew complete an additional job or two every month. By the end of the busy season, a contractor with multiple crews can take on dozens of additional jobs, adding up to thousands of dollars in revenue.
Solutions for Success
While building a successful business isn’t an easy task, finding solutions that increase revenue are great ways to work toward that goal. Simple solutions to reduce labor expenses and project turn-around times are among the easiest ways to manage both margins for error and profit margins. In industries that rely on earth augers, safe one-person drills provide exactly that.
How much could you save with one-man drilling efficiency? Find out with our Labor Cost Calculator.
Last updated Mar 27, 2026
Learn how hydraulic drills work and the safest ways to use them
Powerful and reliable, hydraulic earth drills offer a variety of benefits for drilling projects that require breaking through heavy clay or rocky soils. With the additional torque that comes with the hydraulic drill, it’s important to understand the hydraulic power source and how to use a hydraulic earth drill safely.
Why choose hydraulic earth drills?
Perhaps the most obvious question is why choose hydraulic earth drills in the first place? With a durable body and higher torque than mechanical options, a hydraulic drill can bring more power to a drilling project. Hydraulic earth drills can also drive larger diameter augers with extensions available for deeper drilling projects. Equipment longevity is a factor too. Hydraulic earth drills usually require fewer repairs overall, which lowers costs in the long run.
Once you’ve decided the hydraulic drill is right for your project, it’s time to learn more about what a hydraulic drill is and what you need to be aware of to use one safely. Hydraulic pressure is what generates the force behind a hydraulic drill. So, we’ll start there.
What is hydraulic pressure?
The term ‘hydraulic pressure’ refers to the pressure exerted by fluid (whether at rest or moving) on a surface or structure. In the case of hydraulic earth drills, the hydraulic pressure is the force the fluid creates to drive the drill’s auger forward.
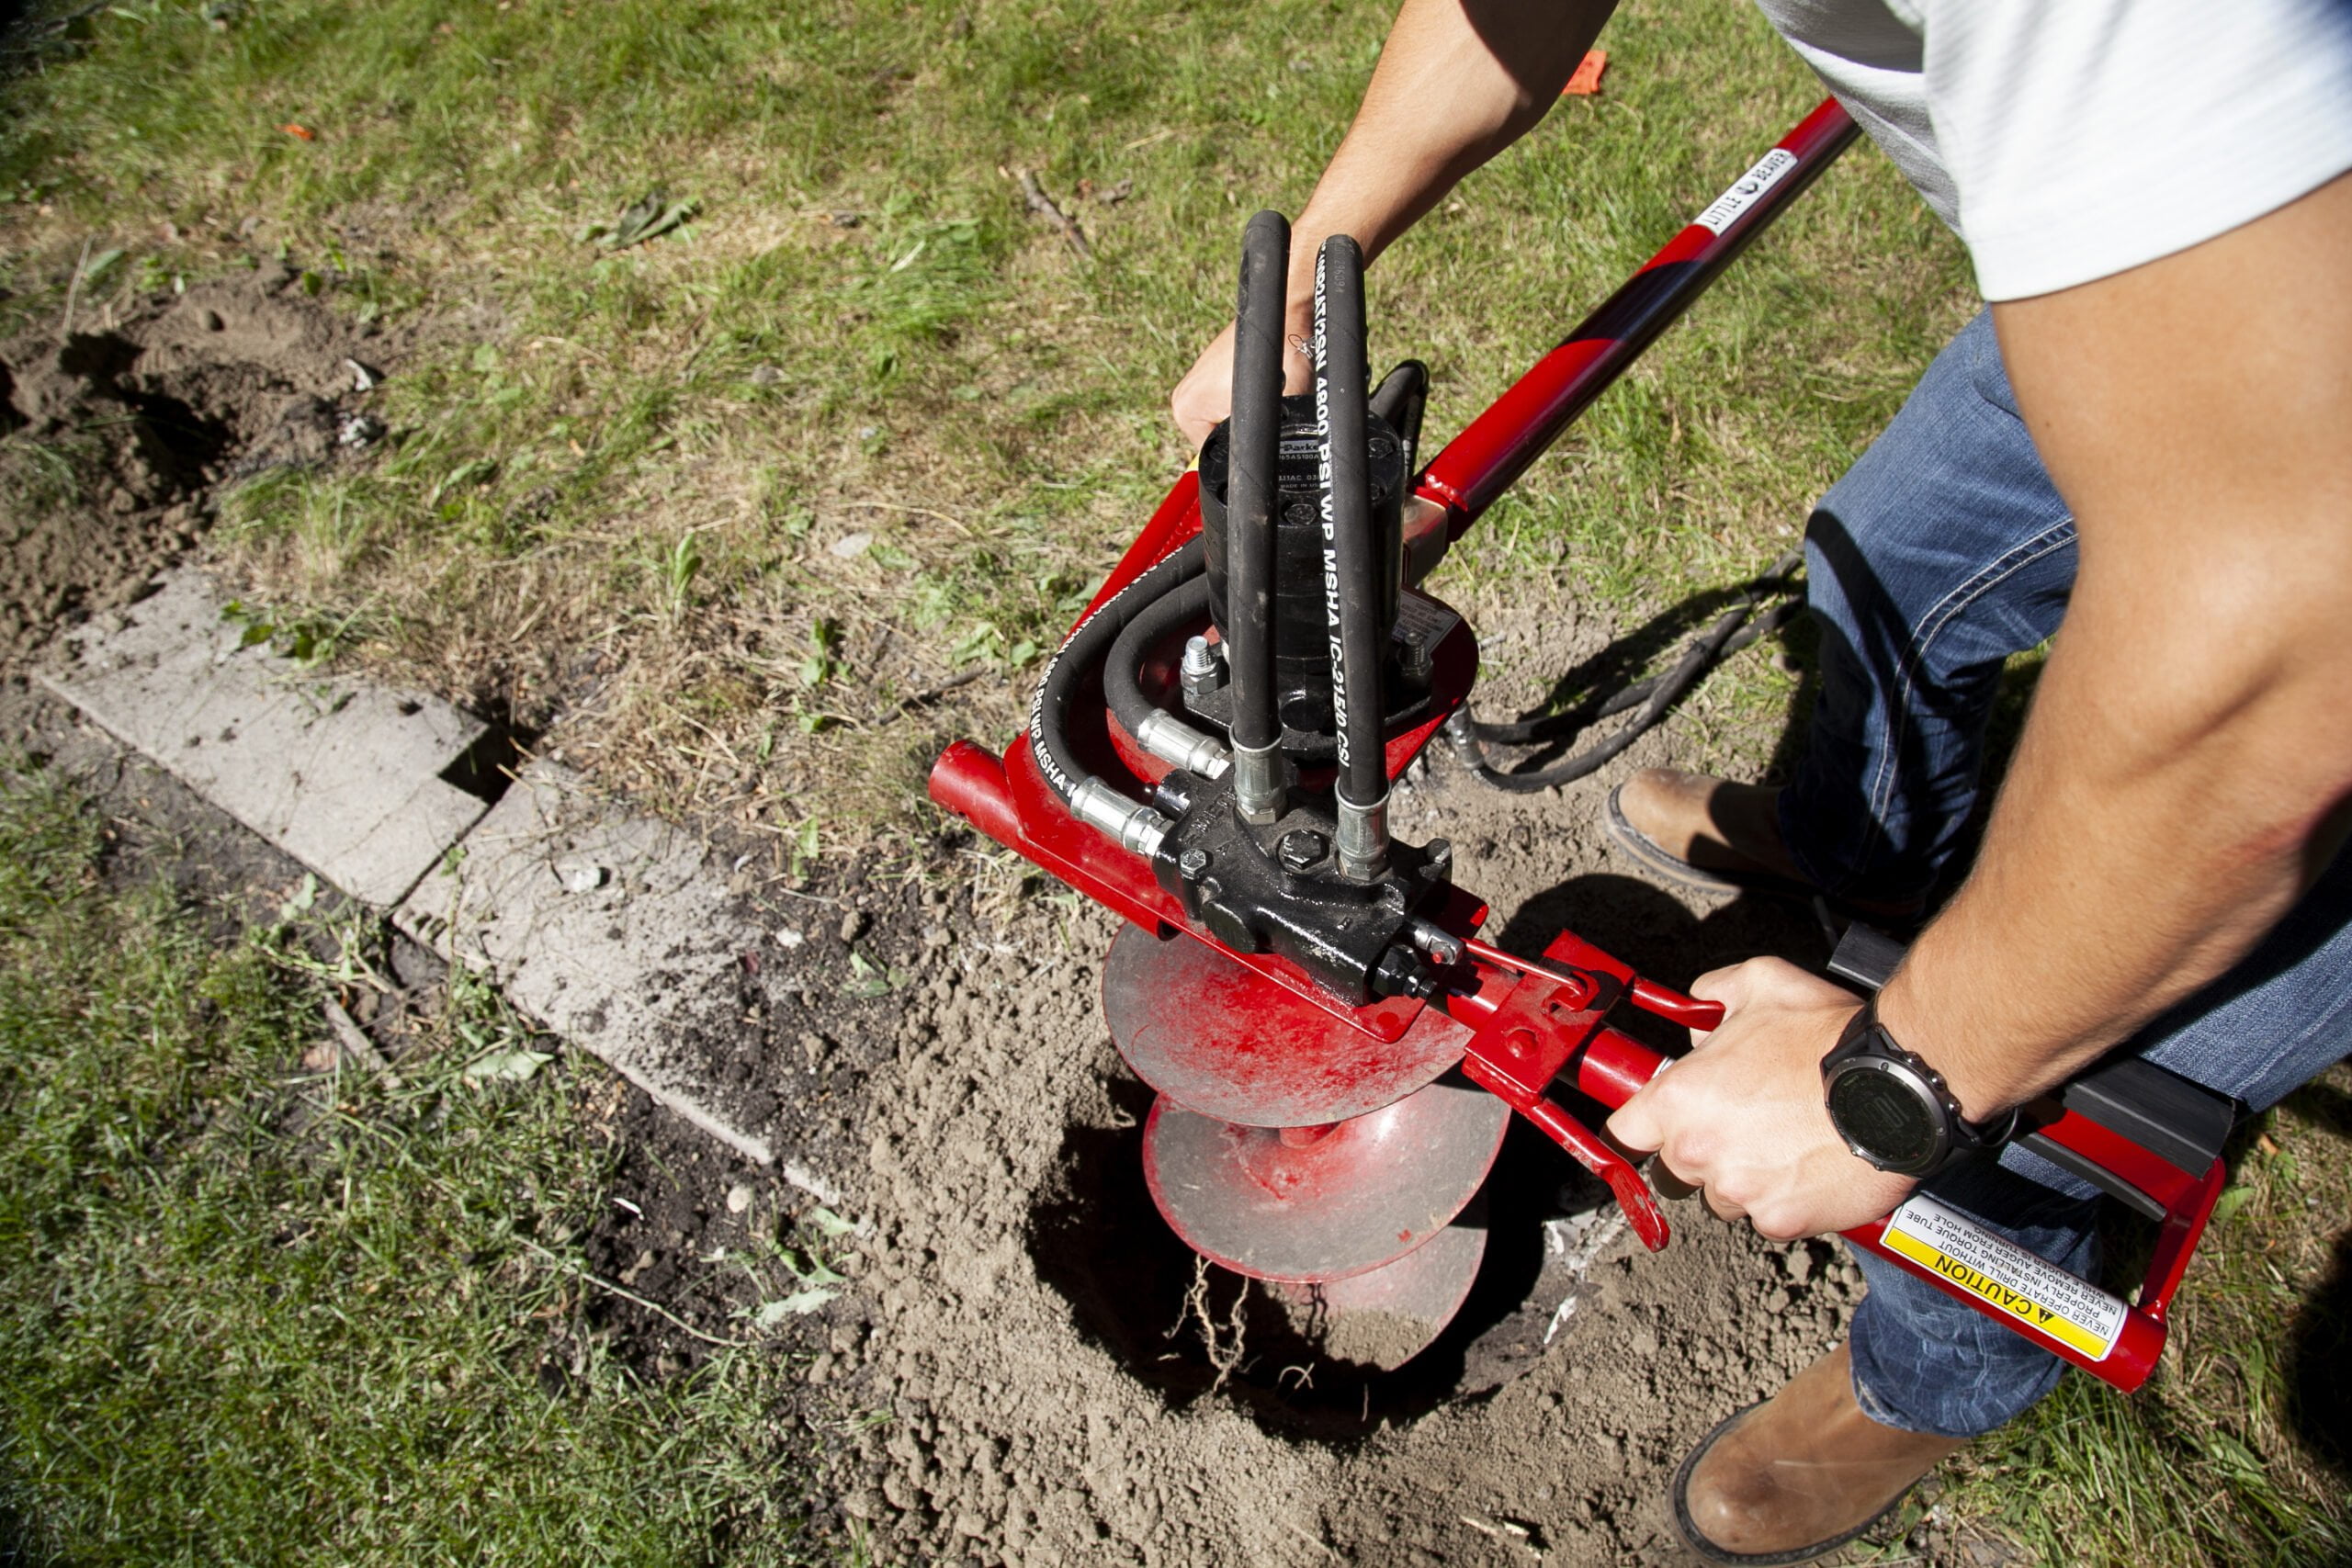
The hydraulic system in Little Beaver hydraulic earth drills generates pressure ranging from 2,500 to 2,700 pounds per square inch with operating speeds up to 150 rpm. Little Beaver hydraulic drills have a hydraulic pressure relief valve that reduces the risk of hydraulic power exceeding the maximum pressure the drill is built to withstand. Once the hydraulic pressure reaches a pre-determined point, the pressure relief valve responds and feeds the excess flow from the system back into the tank. To ensure safety, the valve should be set as equal to or less than the rated working pressure of the weakest component in the hydraulic system.
A relief valve doesn’t remove system pressure, it instead works to prevent pressure from rising past the pre-determined level. The valve reacts quickly to protect against damaged equipment, disrupted work and even injury that can come from hydraulic pressure being too high.
How can you increase safety with the hydraulic earth drills?
Little Beaver hydraulic earth drills improve operator safety thanks to the torque tube, which eliminates kickback and allows for safe and productive one-man drilling without sacrificing power. An optional two-man handle is available too. This handle is more convenient when drilling boreholes between 10-16 inches in diameter where two people are needed to steady the auger. The bigger, heavier auger requires two people to handle it and lift it out of the ground.
As with any project, you should follow basic safety precautions with your hydraulic earth drill. Make sure there are no bystanders in the area before you start. Never run the engine inside a building or enclosed space as exhaust gases contain carbon monoxide and can be deadly. Observing your surroundings before you start drilling keeps both you and any bystanders safe throughout the drilling process.
Always contact local utility companies before drilling to determine the exact location of underground services. Inadvertent severing of telephone, fiber optic or community antenna television transmission cables or damaging sewer pipe is costly. Additionally, rupturing gas or water lines can cause serious injury. To locate these lines, call your local utility companies 48 hours in advance of digging to mark the positions.
Know Your Drill
If you’re looking to complete a drilling project for industrial fencing, landscaping, mobile home and light utility anchoring or any other drilling project that needs high power while still requiring maneuverability, a hydraulic earth drill might be right for you. To learn more about how hydraulic earth drills can help in your outdoor projects, consult with the Little Beaver team!
Contact our team today.